Intellisync
With the Intellisync function you can synchronise data between your
communicator and a PC.
1 Connect your communicator to the PC.
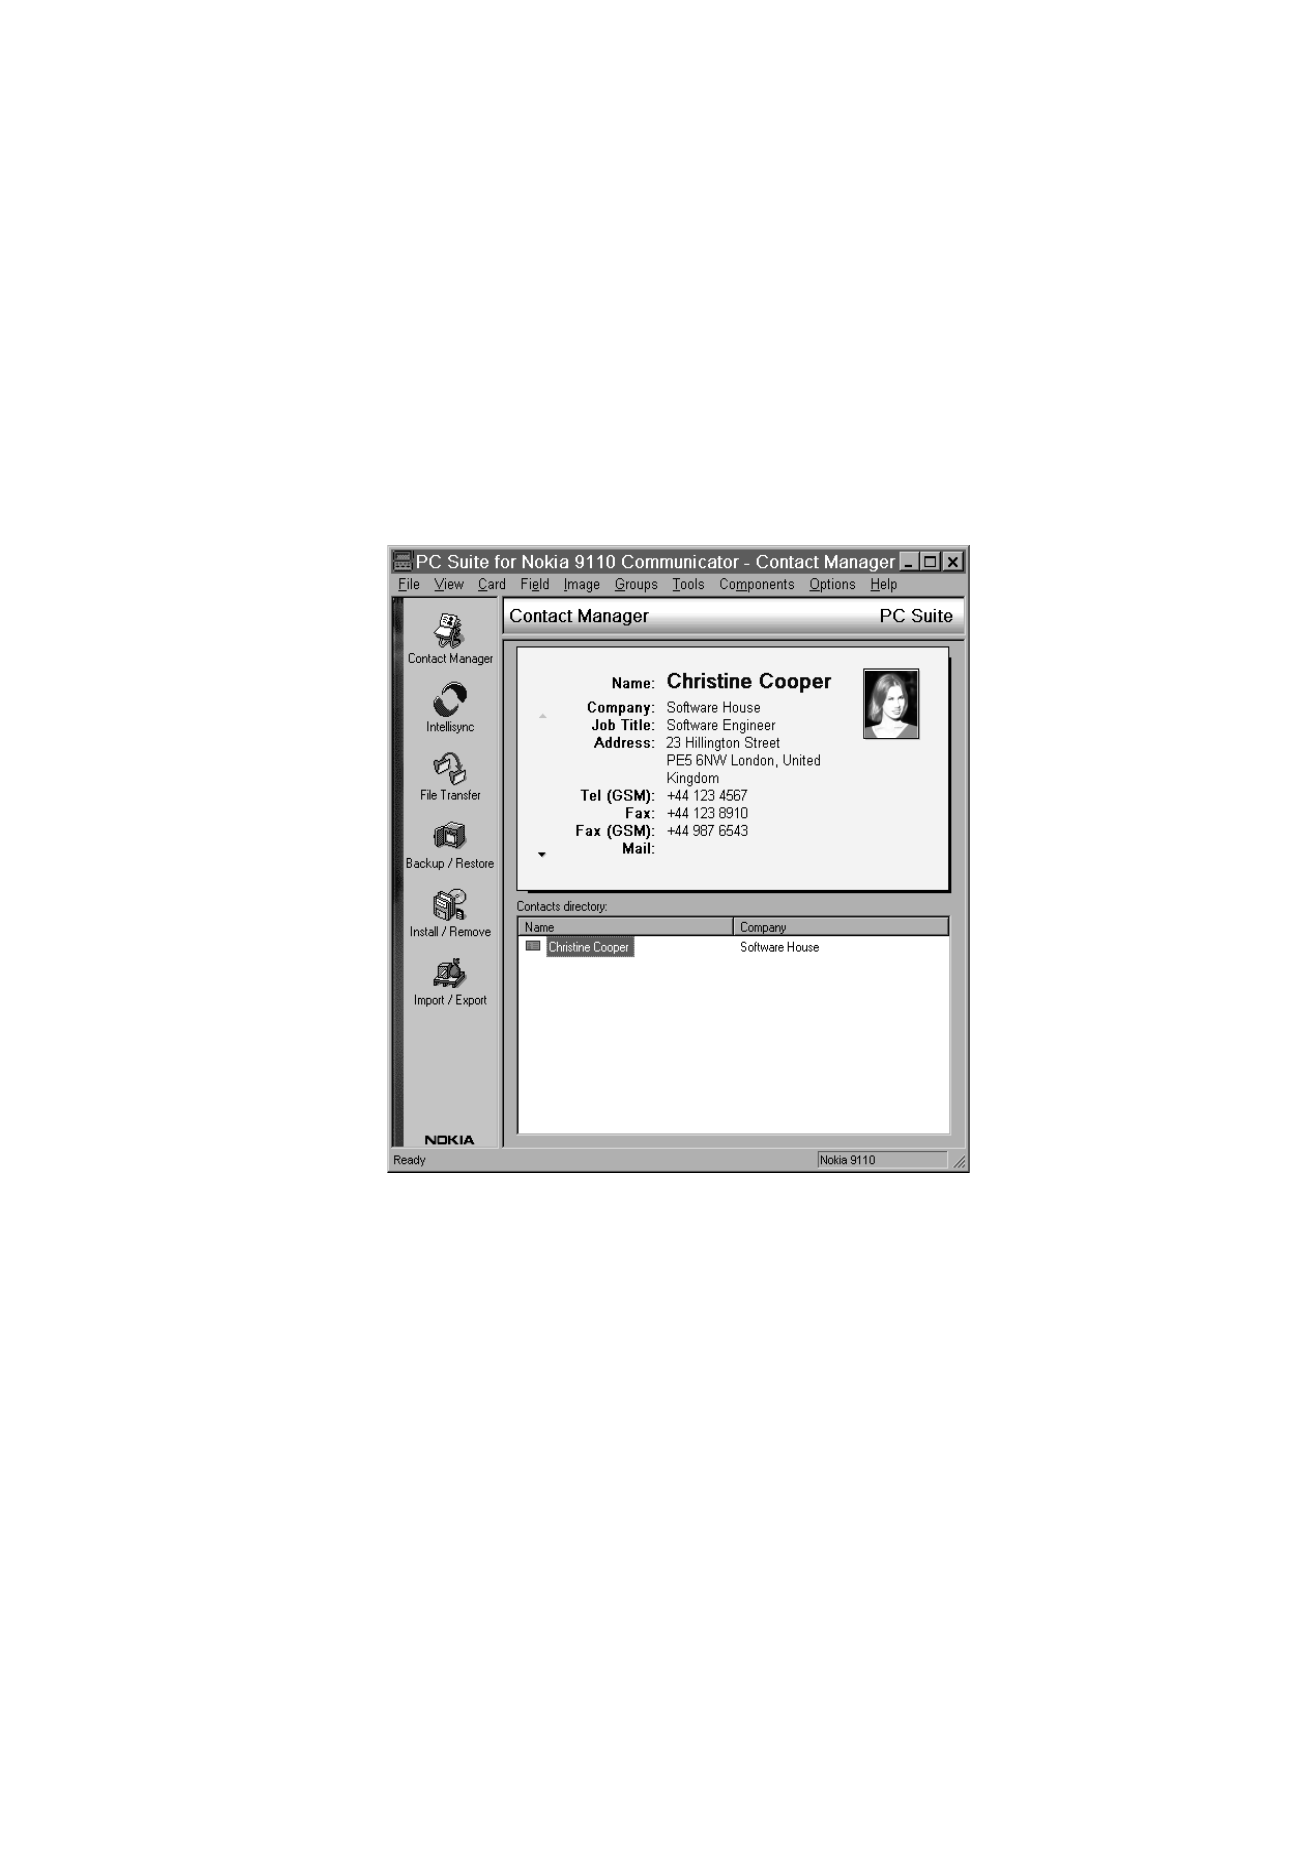
2 Start the PC Suite program on the PC and click the Intellisync icon in the
main screen.
3 The Local (i.e. PC) tab is automatically selected. Click the Settings button.
Figure 2

Com
p
ut
er
c
o
nn
ec
ti
vi
ty
42
1999 Nokia Mobile Phones. All Rights Reserved.
4 This displays the PC Suite Configuration dialog with the Calendar,
Contacts, and To-do list applications of your communicator.
5 Click on the communicator application you want to configure.
6 Click the Choose button to enter the Choose Translator dialog. The Choose
Translator dialog lists all the PC applications that are compatible with the
communicator application you selected.
7 Click the OK button in the Choose Translator dialog to return to the
Configuration dialog. Now the PC application you selected appears next to
the name of the communicator application.
8 Specify the application and, if necessary, the file you want to synchronise.
Note: You may be presented with a dialog containing the
tabs Format and File. In the Format tab, select the address
format that you are using for addresses in your
communicator. The Contacts Format 5 is recommended. In
the File tab, indicate if you want to synchronise Contacts
on the communicator memory, or on the memory card.
After this, click OK.
Note: The first time you select Microsoft
Outlook in the Choose Translator dialog, use the
Browse button to locate the data in your
Outlook folder which you wish to synchronise.
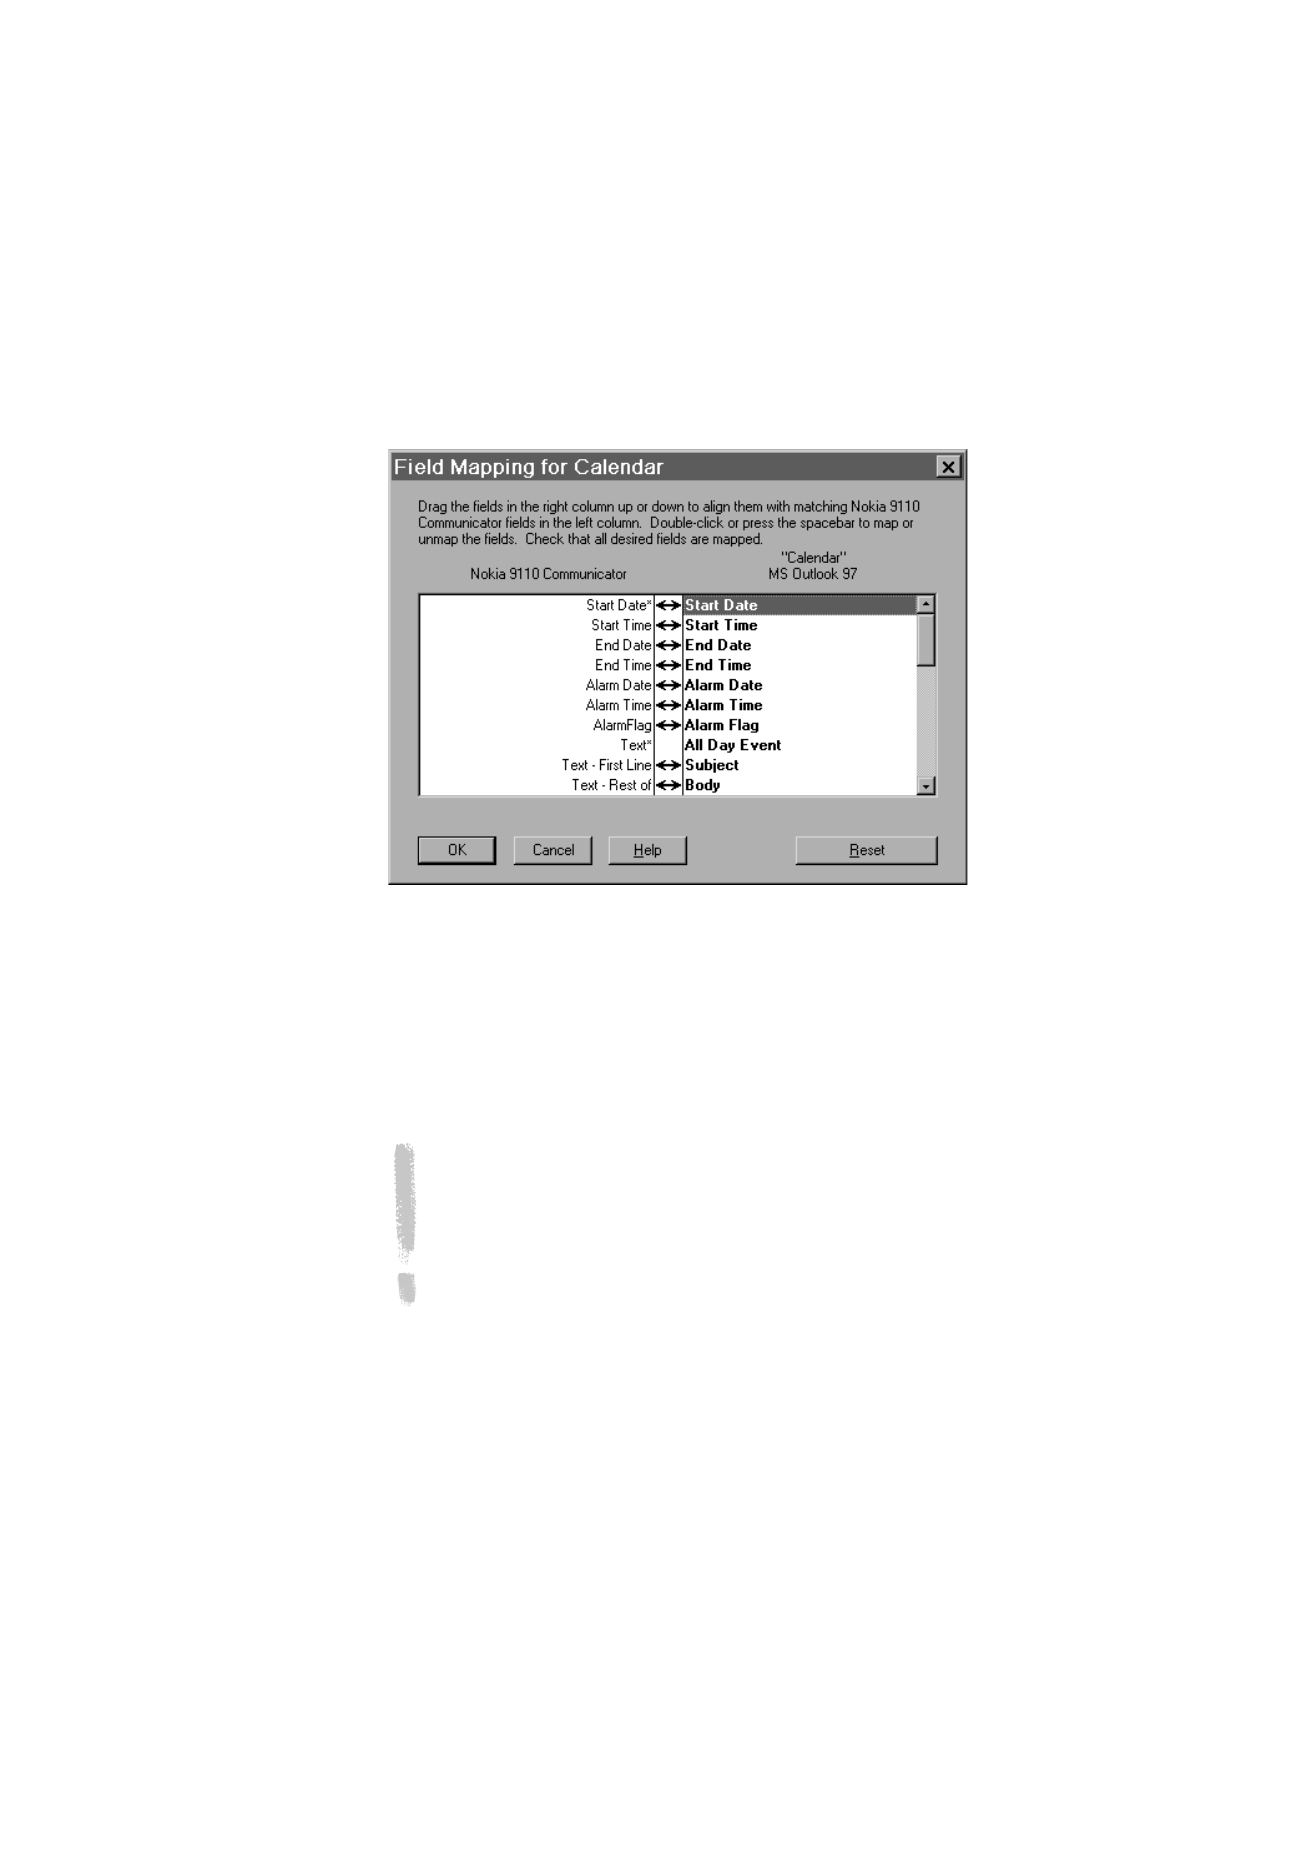
Note: In order to synchronise data successfully between
your communicator and a PC application, click on the
Advanced button after selecting the application with
which to do the synchronisation.
In the Advanced settings dialog, click on Field Mapping
and match the fields of the PC application with those
fields of the communicator that have been marked with
asterisks, see figure 3.
Com
p
ut
er
c
o
nn
ec
ti
vi
ty
43
1999 Nokia Mobile Phones. All Rights Reserved.
9 When you are ready to perform the operation, click the OK button at the
bottom of the Configuration dialog.
10 Click the Synchronise button on the PC Suite opening screen.
11 If prompted, resolve data conflicts.
12 A confirmation prompt appears, showing you how many adds, changes,
and deletes will be applied to each of your systems if you proceed with the
operation. Click Accept to proceed, or Cancel to discontinue.
Note: If you have a very large contact database in your
communicator, you might not have enough free memory in the
communicator to complete the synchronisation operation. In order to
overcome this limitation, contacts can be divided into several contact
databases on memory card. Each contact database can then be
synchronised separately. The maximum amount of contacts that can
be successfully synchronised, depending on the amount of free
memory in the communicator, is about 1000 contacts in each
database. Refer to "Quick Start Tutorial" in Chapter 3 of the PC Suite
for Nokia 9110 Communicator User Guide found on the CD-ROM for
instructions on how to synchronise contacts on the memory card.